Tableau: Creating A Navigation Button to Another Dashboard

Follow us on Twitter & LinkedIn for more tutorials, case studies, and articles.

Publication Date: 06/12/2019
Share This Article

In this tutorial, we will provide step by step instructions on how to create a button to navigate in between dashboards.

For other Tableau tutorials, visit the tutorials "Tableau: Creating Dual Layered Color Changing KPI Tiles" and "Tableau: Creating Expandable Charts using Action Menu"

What We need to accomplish

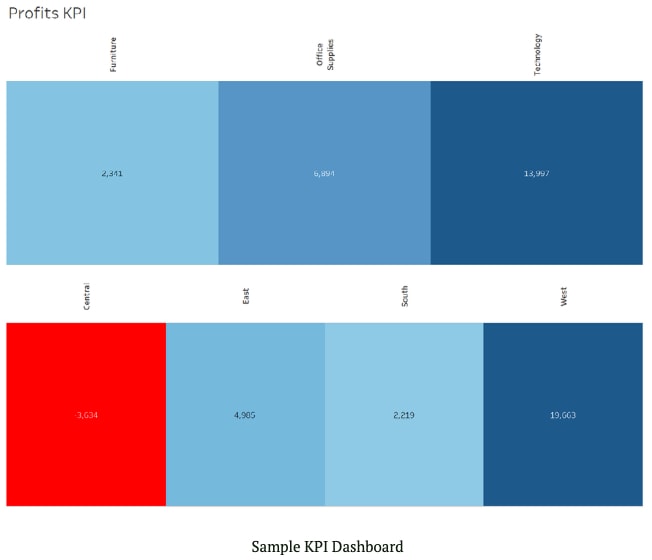
  1. We want to be able to navigate to the detail dashboard by clicking on the tile.
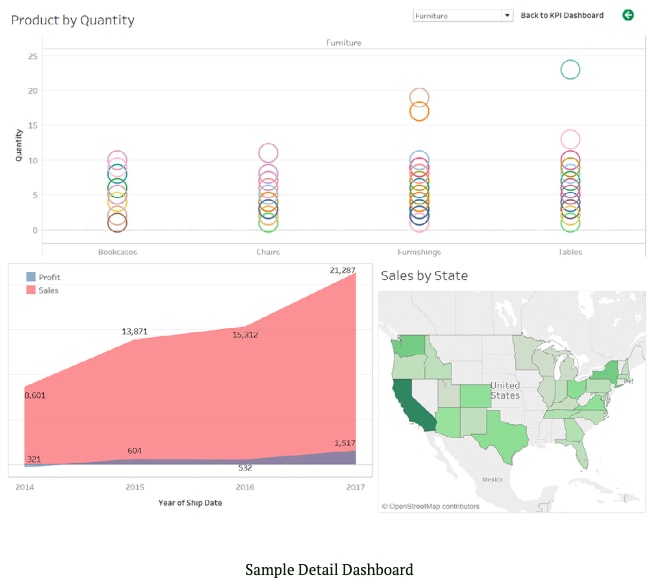
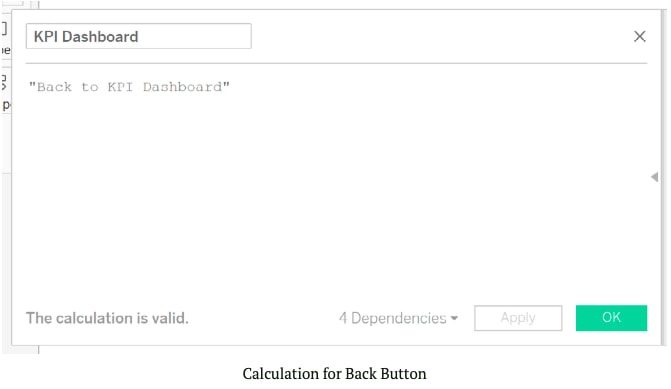
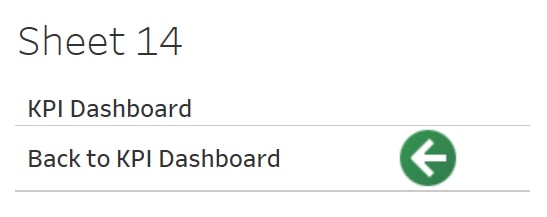
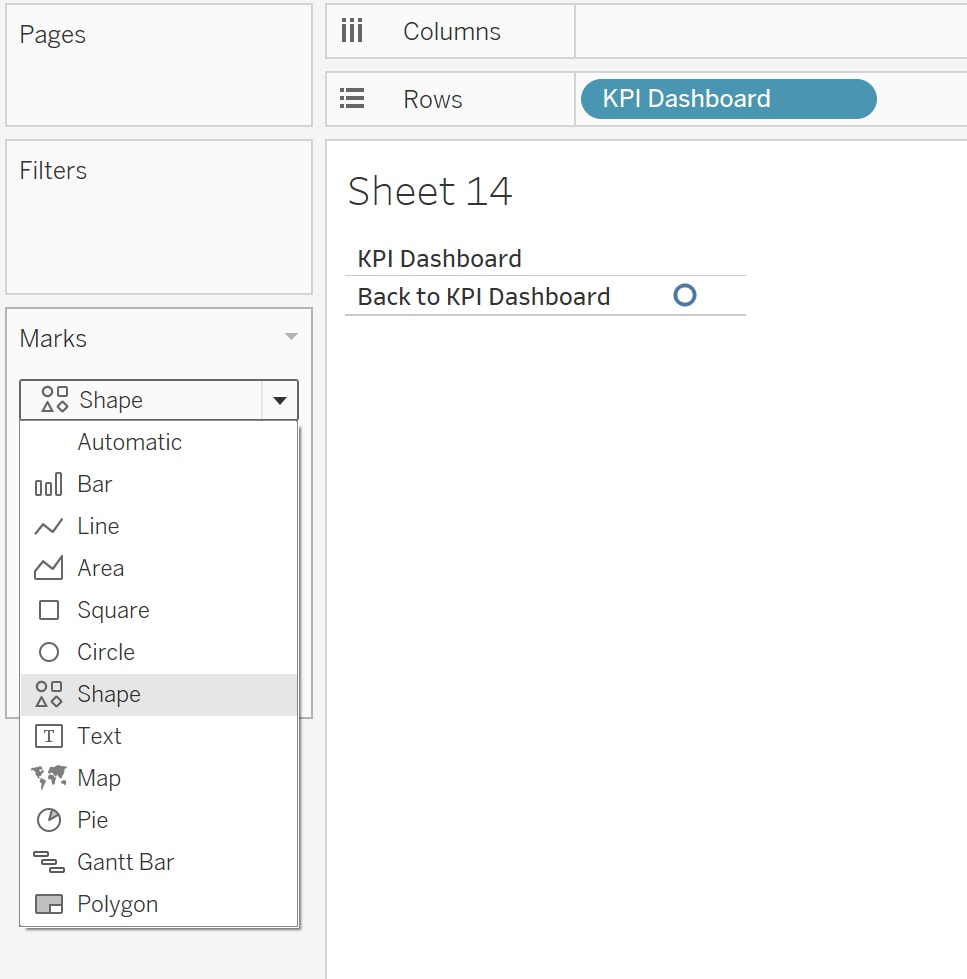
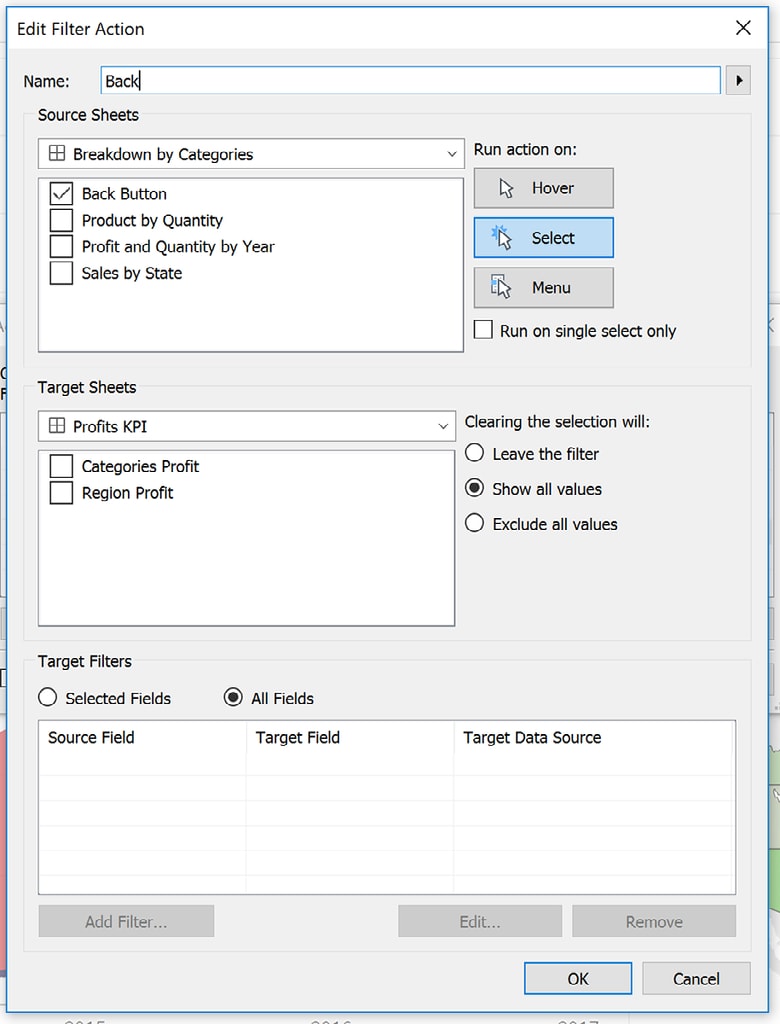
  2. We also need to create a button on the Detail chart in order to go back to the home KPI Dashboard.

SETTING UP ACTION FOR THE TILE

Since the top portion of the KPI Dashboard and the Bottom portion of the KPI Dashboard directs to 2 different Dashboards, we will need to create two action filters.

Step 1. From the tool bar, select Dashboard -> Actions to open the Actions Menu.

Step 2. Click Add Action -> Filter...

Step 3. Give the filter a name.

Step 4. Under Source Sheets select the sheet that you wish to use as the button (in this example, I will use the Categories Profit Sheet).

Step 5. Under Target Sheets, click drop down and select the dashboard you wish to navigate to.

Step 6. Select Run action on Select. Click OK.

Step 7. Repeat the same steps, and select the corresponding source sheets and target sheets for the bottom portion of the KPI dashboard.

creating the back button

Step 8. Create a calculated field for the button, and input the text: "Back to KPI Dashboard".

Step 9. Drag the KPI dashboard calculated field to rows.

Step 10. Under Marks click on the drop down and select Shape.

Step 11. From the Select Shape Palette Drop down Select Arrows, choose the green left arrow. Click OK - the arrow should appear next to the text.

Step 12. Drag the edge to the desired size.

Step 13. Under Marks click on size to adjust the size of the arrow.

Step 14. Right click to hide the title and field label.

Step 15. To remove the horizontal lines, right click -> Format.

Step 16. Click on the Borders icon.

Step 17. Under Row Divider, change to None.


ADDING THE BUTTON TO THE DASHBOARD

Step 18. Drag the sheet for the newly created button to the dashboard.

Step 19. Click on the down arrow to the right of the button.

Step 20. Select Floating and position it at the desired spot.

Step 21. From the tool bar, select Dashboard -> Actions to open the Actions Menu.

Step 22. Click Add Action -> Filter...

Step 23. I named it "Back".

Step 24. Under Source Sheets Select Back Button.

Step 25. Select the Target Sheets.

Step 26. Run action on Select. Click OK.


Interested in learning more about Tableau and how it can help your company?
Contact us using the form below for more information - our consultants will get back to within 1-2 business days.